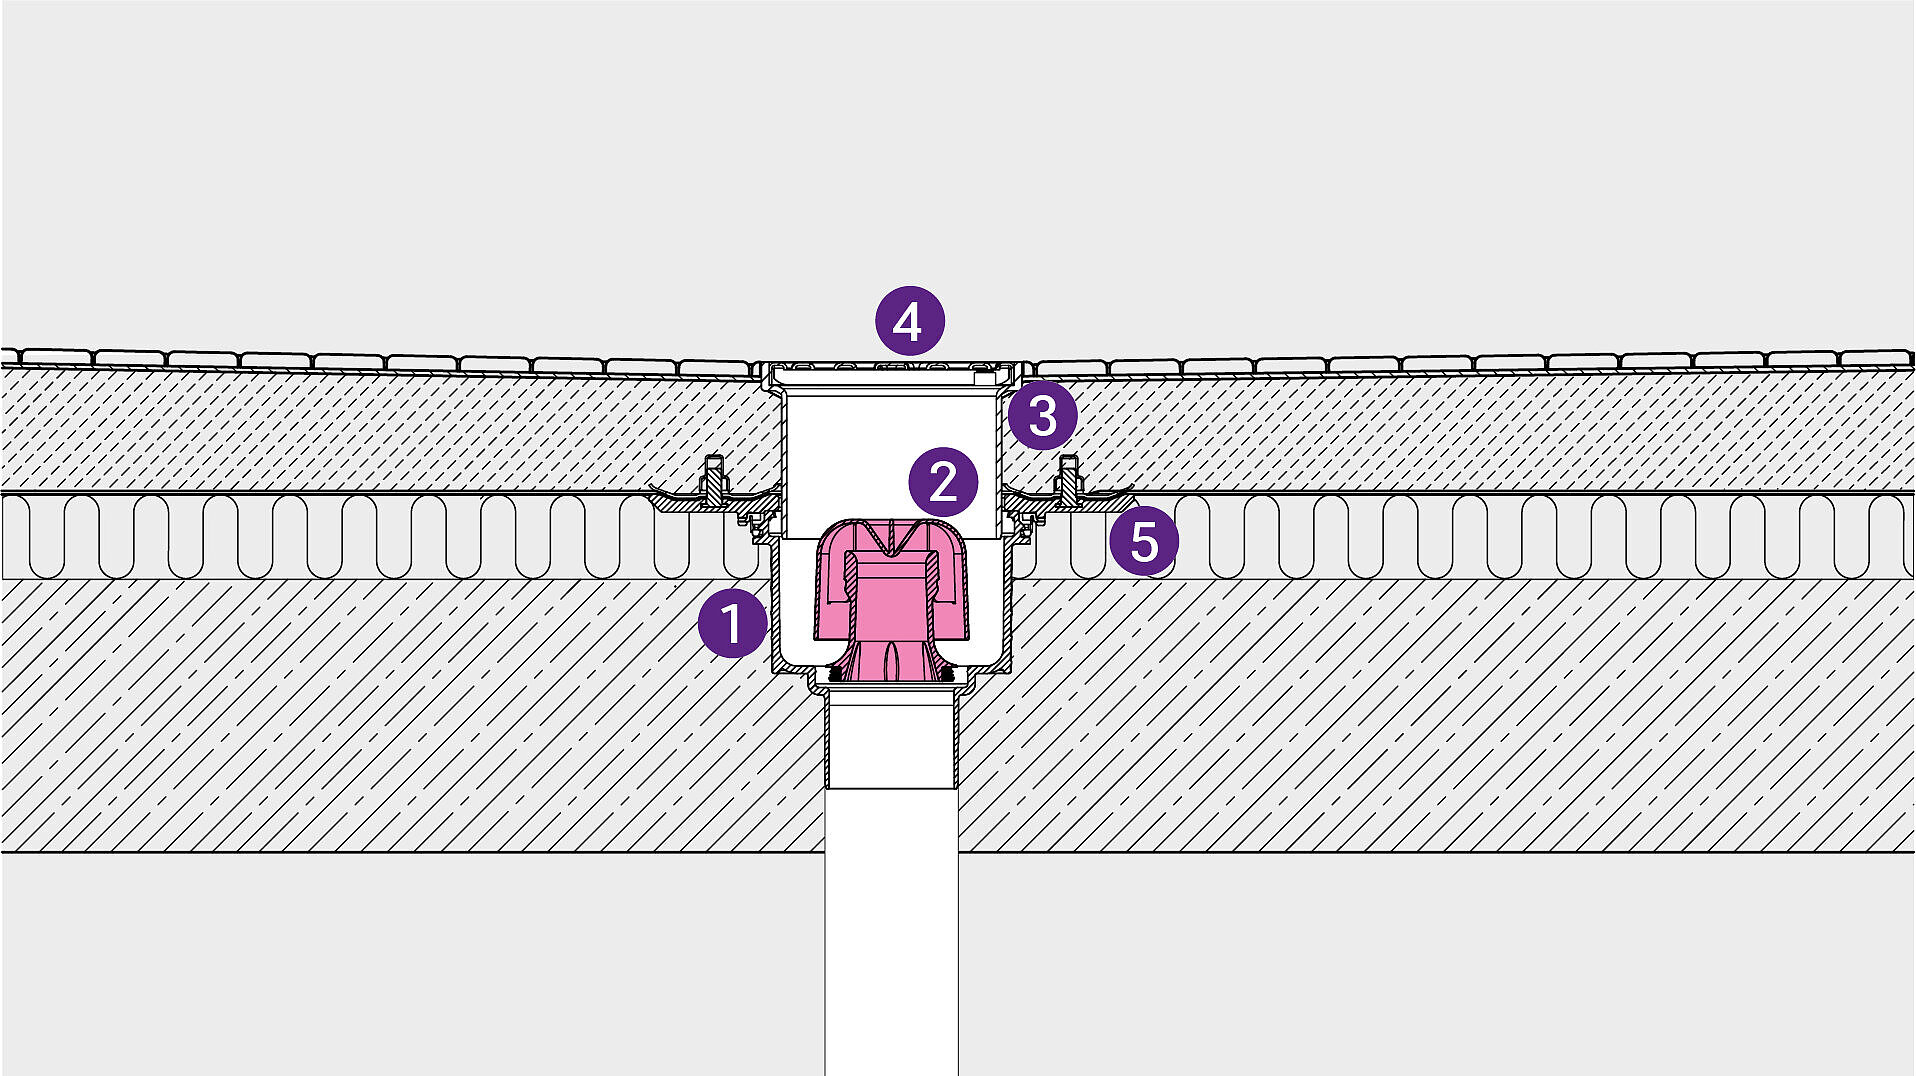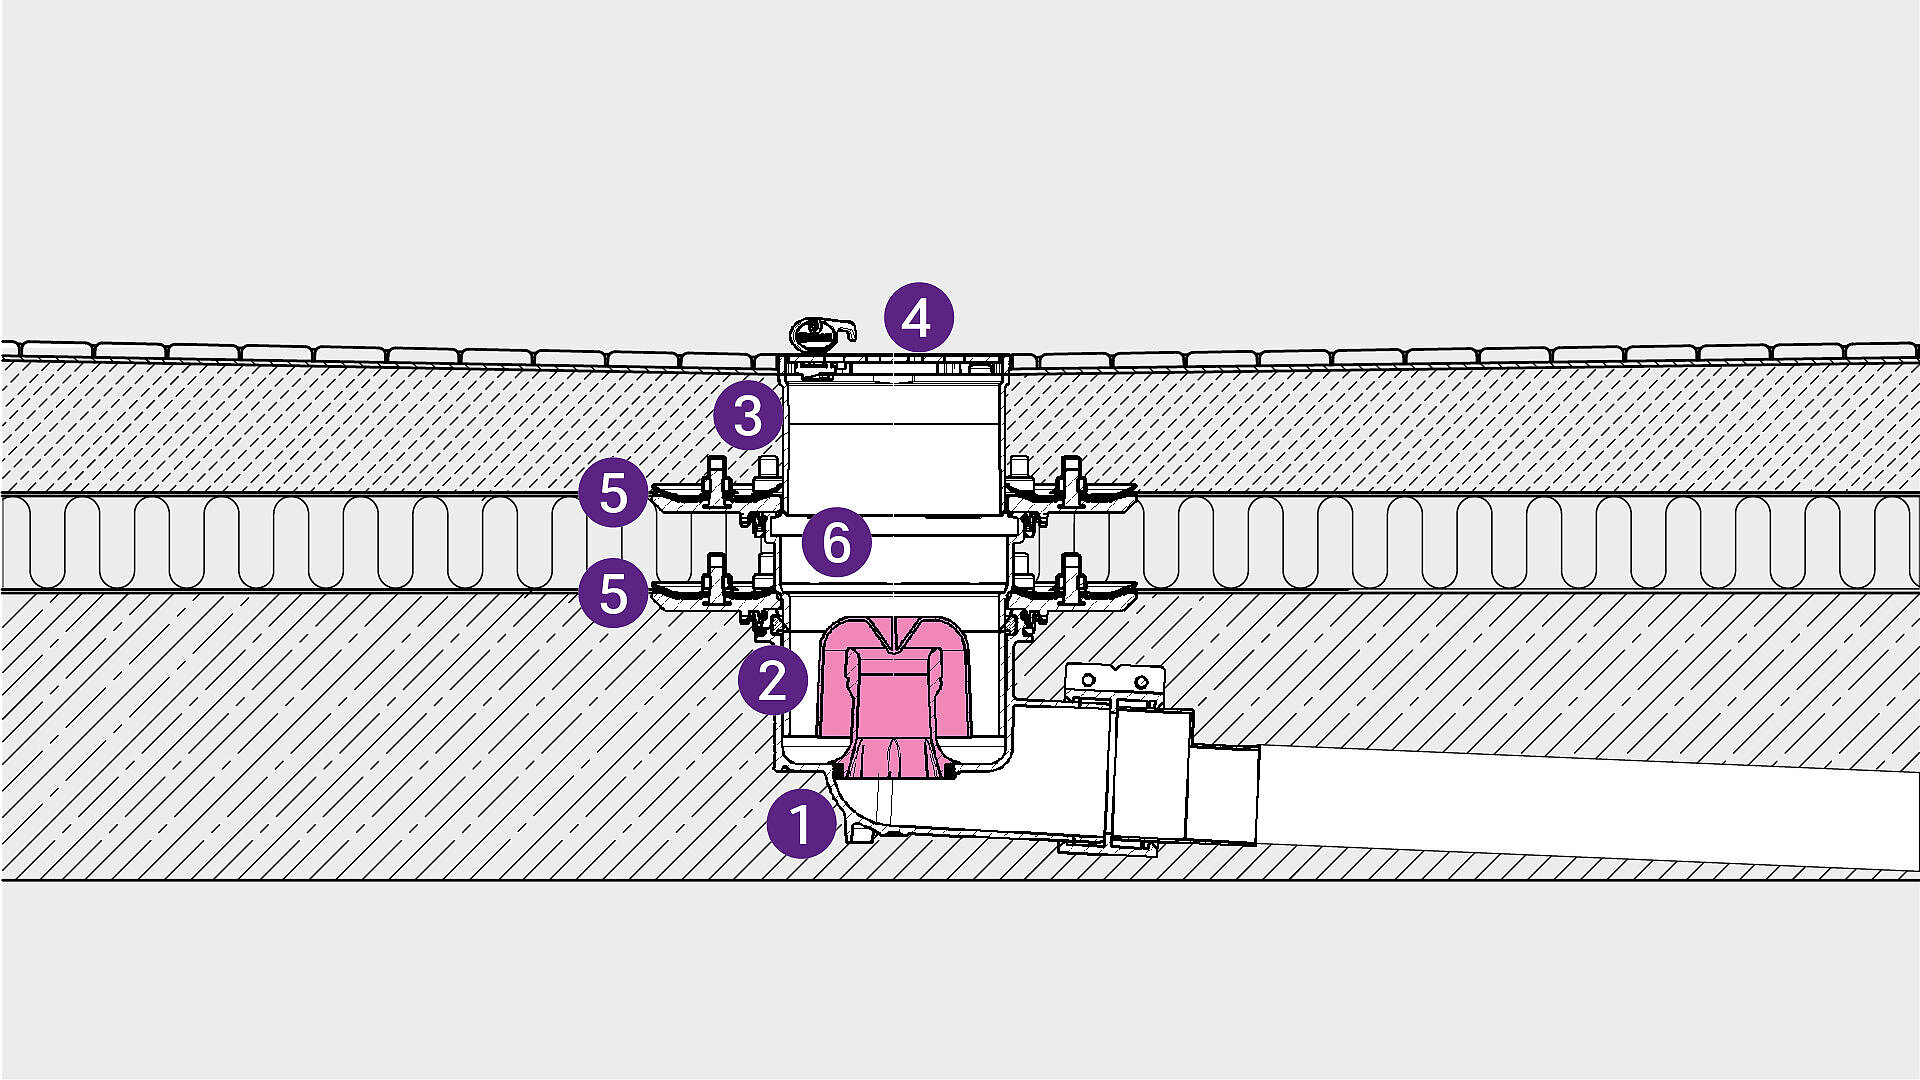
Differences
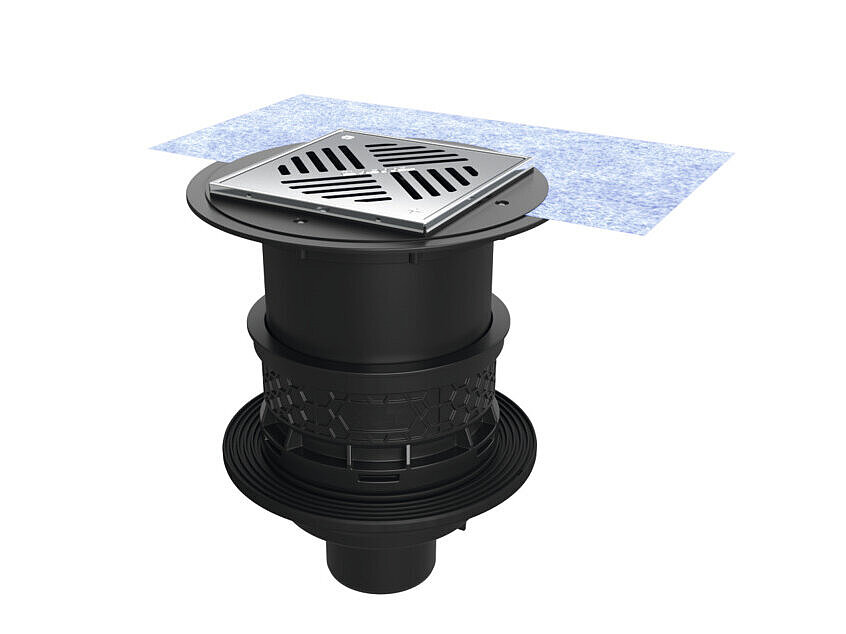
Protection against penetrating moisture and the protection of building elements against damp is essential in a building. Here it is important to know what the waterproofing must achieve: A moisture barrier prevents moisture from moving into other building elements. It is therefore laid, among other things, between the floor insulation and screed. Watertight membranes on the other hand are also watertight in case of ponding or backed up water and are used on roofs, in kitchens and in sanitary rooms.
Which flanges are suitable?
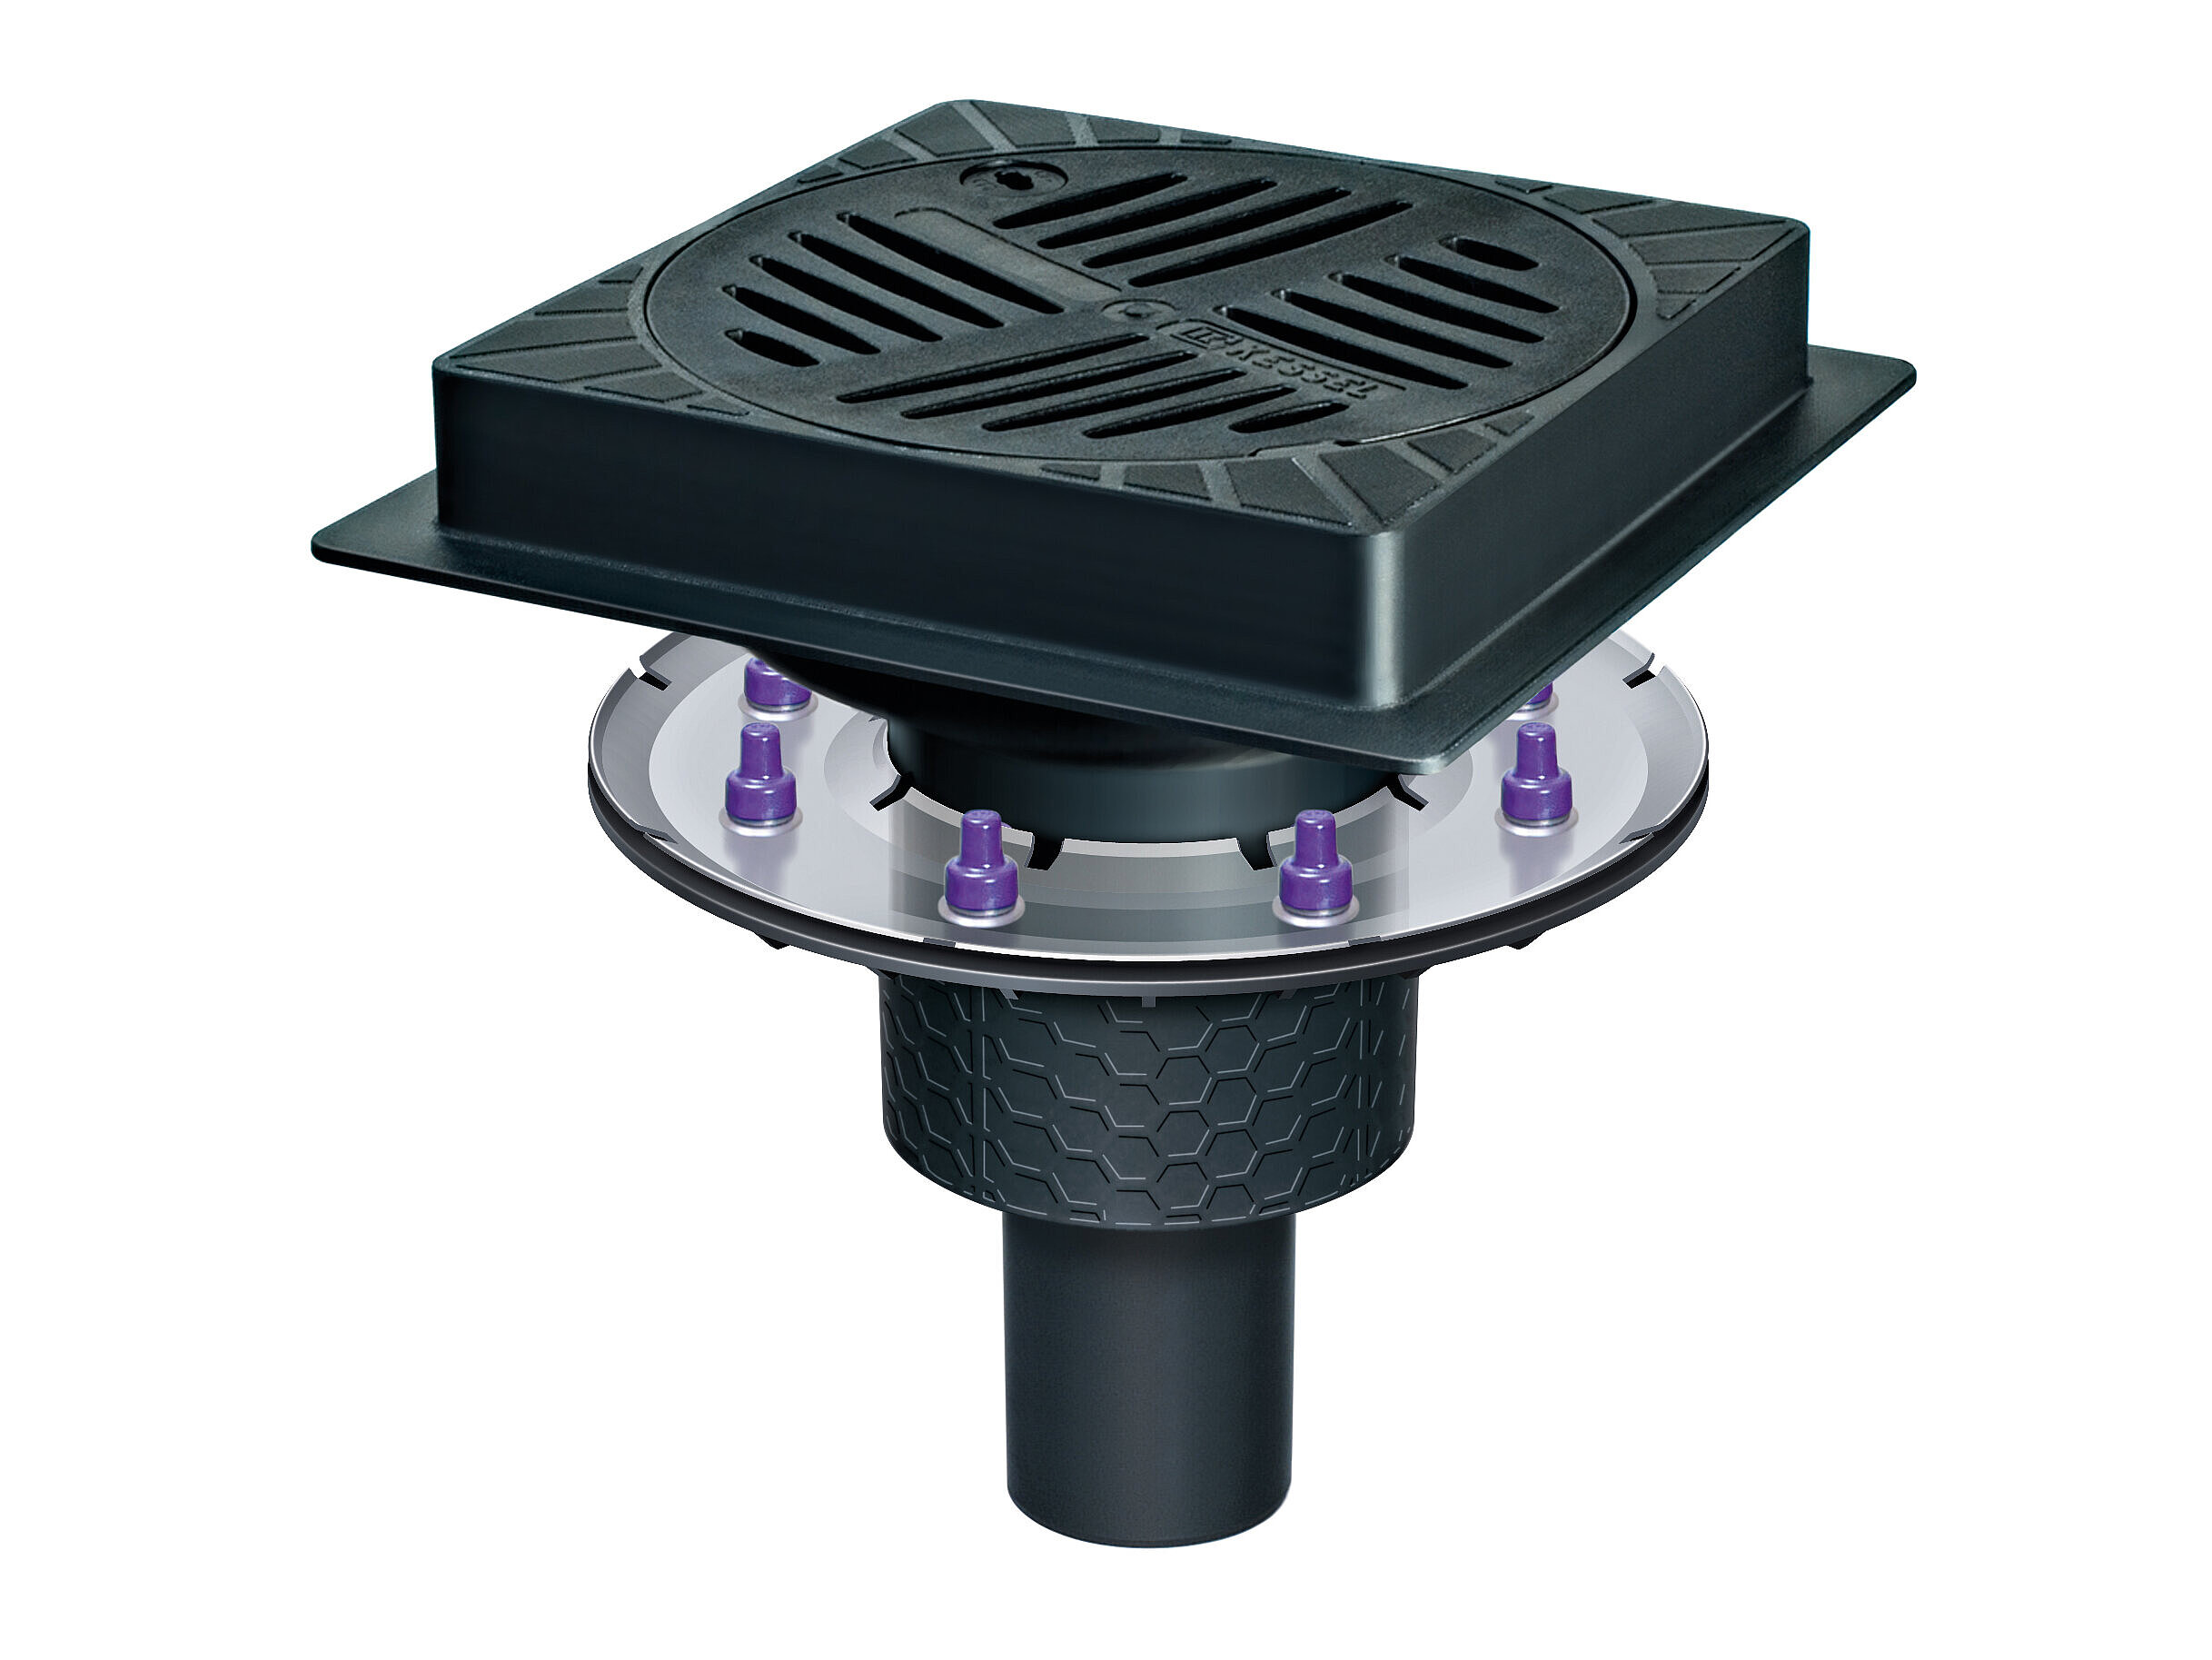
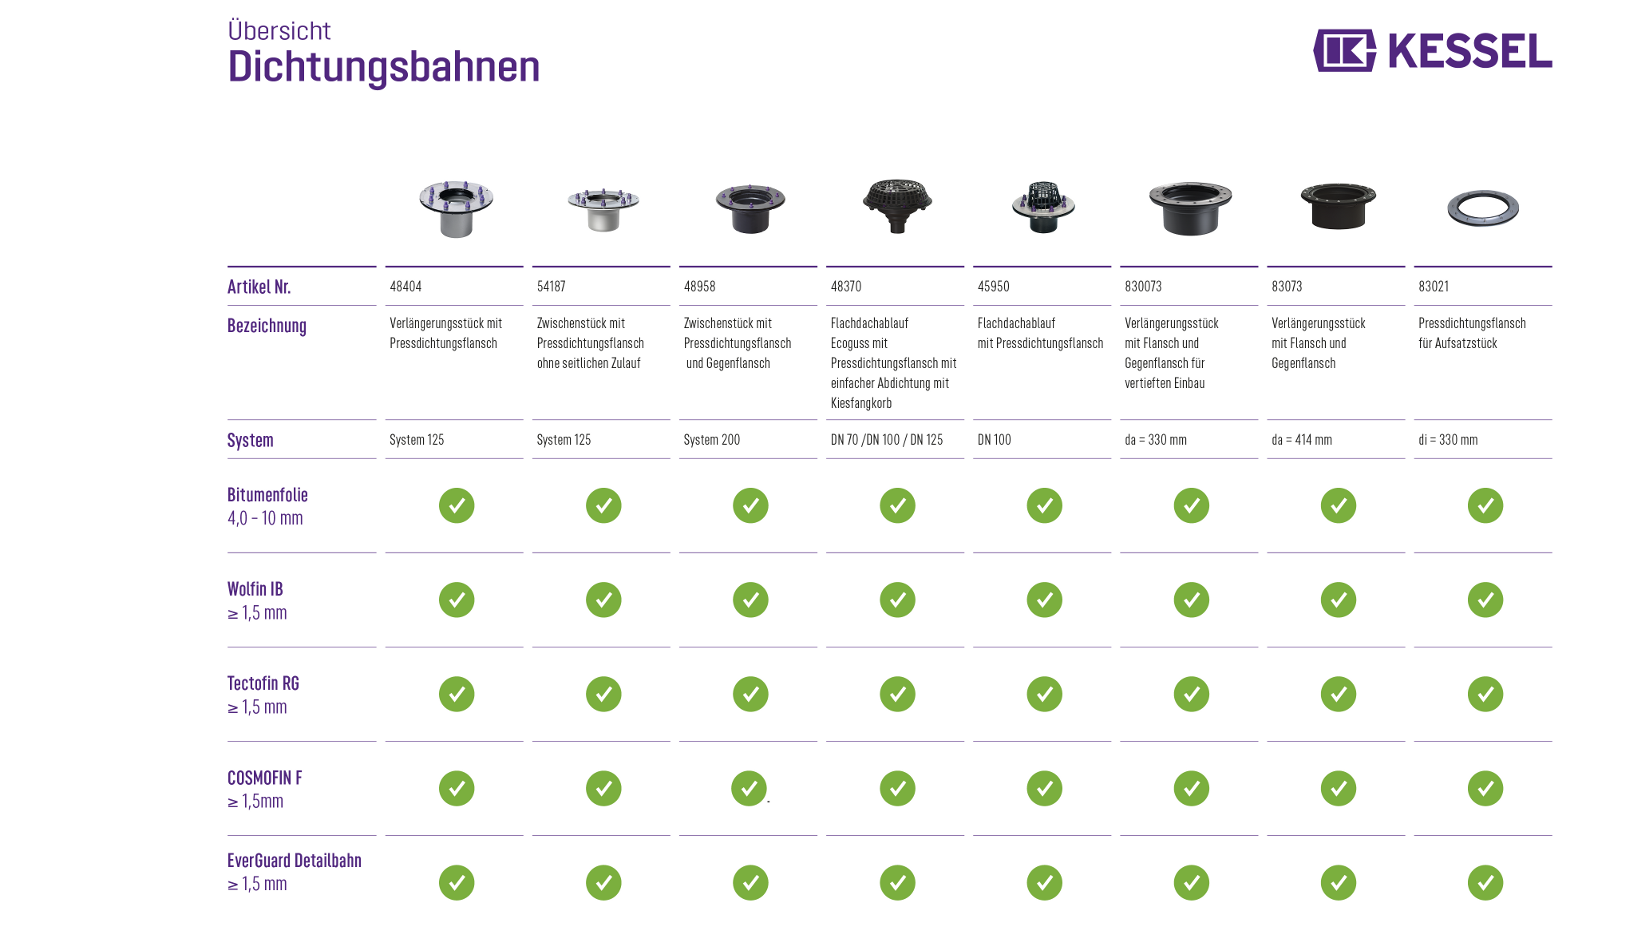
While glued flanges are only suitable for sealing against moisture, in the case of pressure sealing flanges the thickness of the sheeting and type of membrane are decisive: A watertight seal can be achieved by a minimum sheeting thickness of approx. 1.5 mm or thicker. The following table is an overview of KESSEL pressure sealing flanges and waterproofing sheets, which have been tested and approved for watertight installation. Other waterproofing that is an equivalent type and has a minimum sheet thickness of approx. 1.5 mm can also be used. However, the installer or manufacturer of the waterproofing sheet must confirm that the sheet used is of an equivalent type.
When using metal drains made of stainless steel, several component waterproofing options are available to you. The precise procedure depends on the waterproofing sheets that you use. Before you install such a drain, it is helpful to phone our service centre: There we will be pleased to explained to you which particular features must be noted for the installation.
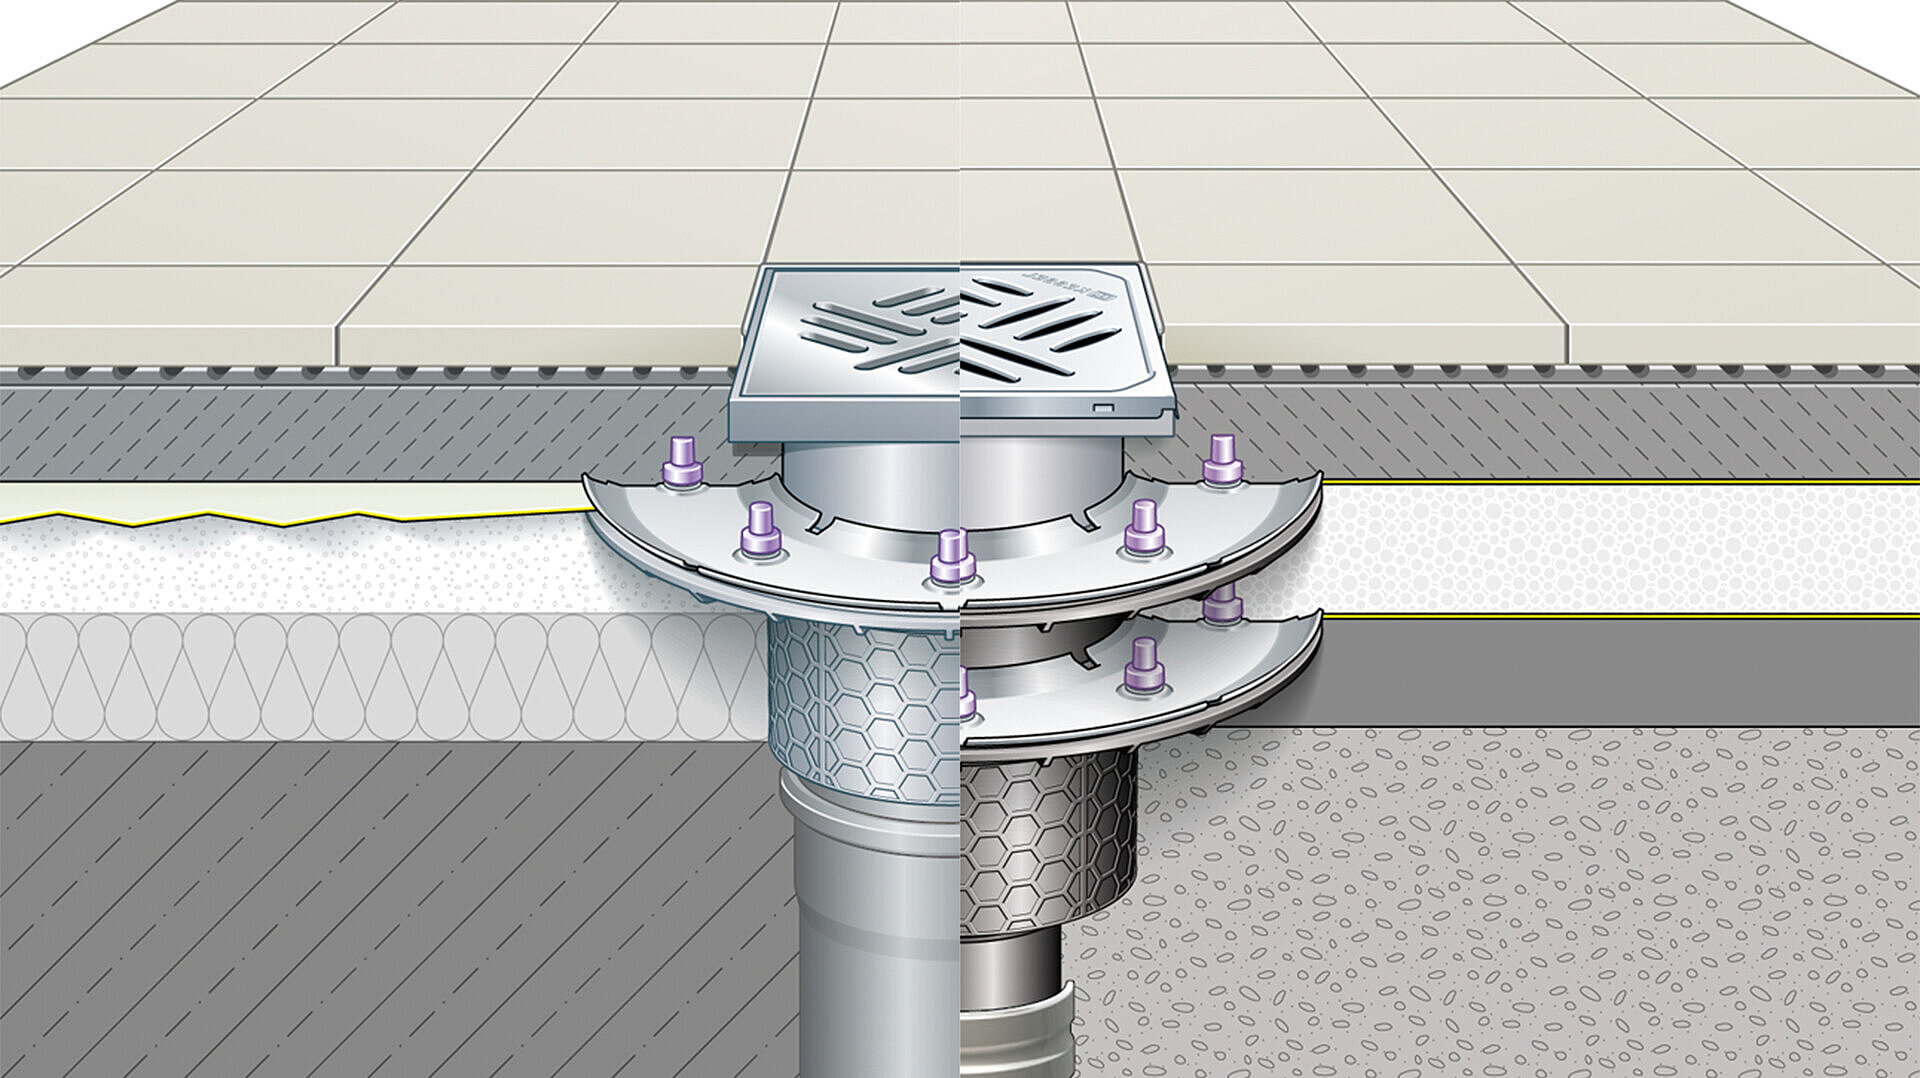
Standard-compliant humidity sealing with membrane
Floor drains in damp and wet rooms can be sealed using one or two (in case of pressing water) membranes. The elastomer, polymer or bituminous waterproof sheeting can be laid loosely or bonded using bitumen or polymer hot glue compound. The specifications concerning the sealing of structures in accordance with DIN 18531 to 18535 must be observed.
Installation of membranes with pressure sealing flange
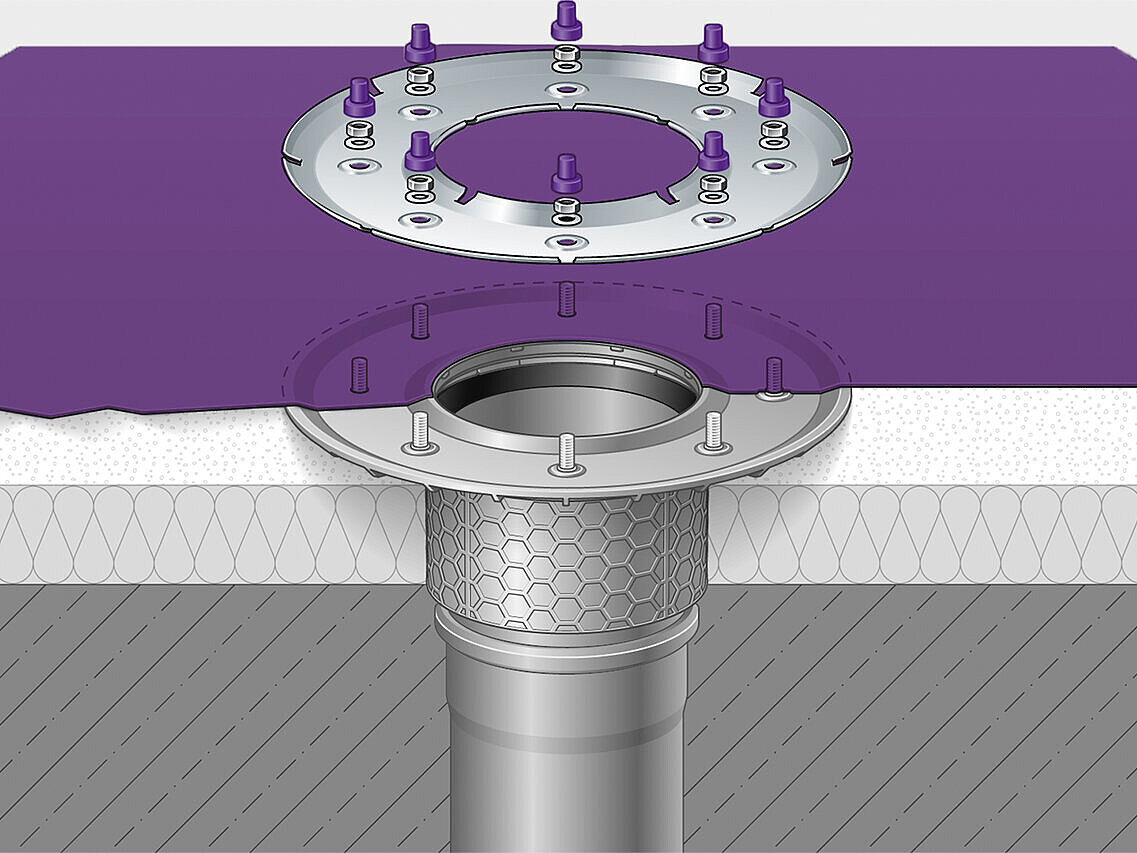
1. Fit membrane
Cut the membrane out near the drain opening, place onto the opened pressure sealing flange and clamp tightly using the counter-flange. Please observe the respective installation instructions.
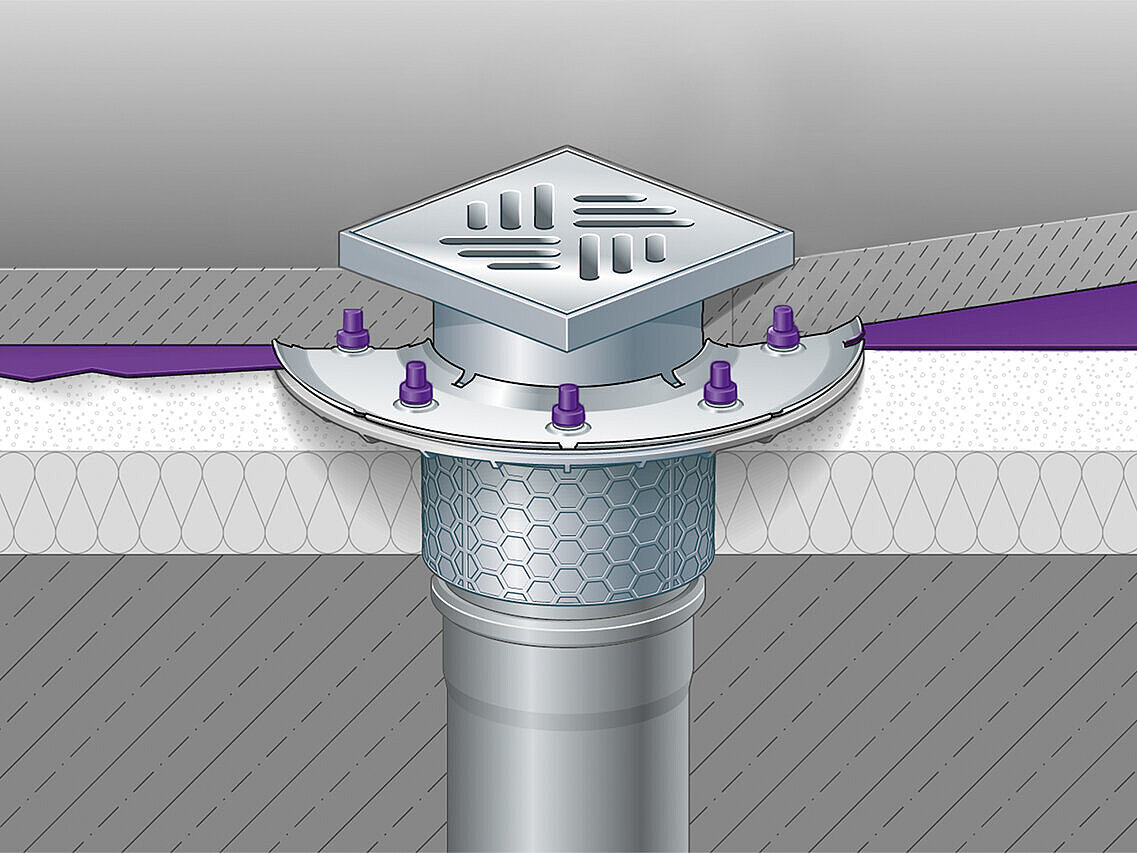
2. Apply next layer(s)
Insert the upper section or intermediate section and lay the impact sound insulation or cement layer and flooring..
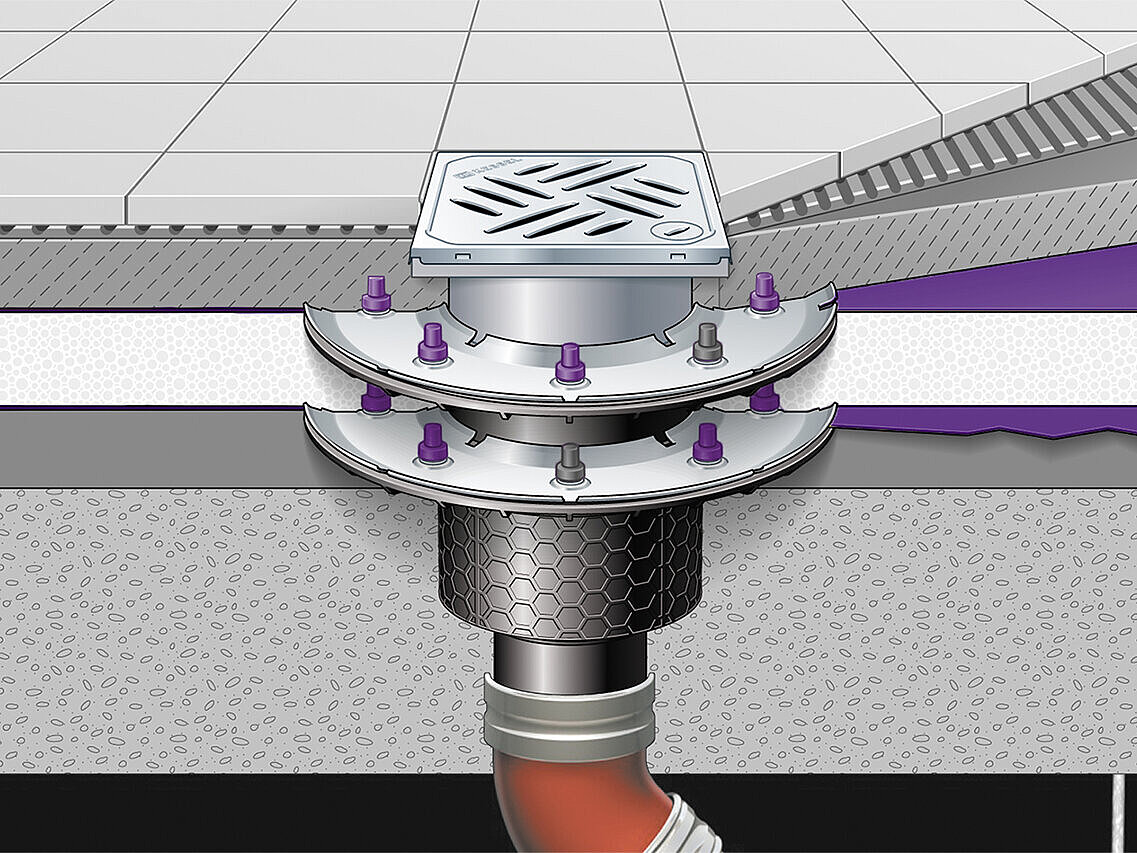
3. Repeat if necessary
If appropriate, install a second membrane in accordance with 1 and 2.

Technical advice from our experts
Would you like a professional assessment of your project, or do you require individual support for your drainage with KESSEL? Our qualified specialists will be happy to advise you.

